Planning Your Garden Path: Design and Materials
Planning the design and selecting the appropriate materials is the first step before starting to construct a DIY garden path. Think about the path’s intended use, such as creating a walkway between various garden sections or improving the outdoor area’s aesthetic appeal. The design can be winding, curving, or straight depending on how your garden is laid out. Depending on the style you want, you can use bricks, wood, stepping stones, or gravel as your materials. Paver pathways are inexpensive and simple to set up, but stepping stones have a more natural appeal. Bricks or pavers provide a classic, structured look. Taking time to plan the path’s design and materials ensures that your garden path will not only be functional but also complement the overall aesthetic of your garden.
Preparing the Ground: Marking and Digging the Path
Your garden path’s foundation needs to be ready once you have a clear design in mind. To begin, use spray paint, string, or stakes to mark the path’s outline. This will assist you in visualizing the path and guarantee that it takes the intended form. Once the markings are made, start excavating the pathway to a depth of 4 to 6 inches, depending on the material you selected. Ensure that the trench’s bottom is level to avoid water collecting on the walkway. Sand or crushed stone must be added to the base to provide stability if pavers or bricks are being used. A fabric liner placed beneath the gravel on a path can help keep weeds from growing through. Proper preparation ensures the longevity of your garden path and keeps it looking neat and well-maintained.
Laying the Path: Installing Your Chosen Material
It’s time to lay the material of your choice for your DIY garden path now that the foundation is in place. When placing stepping stones along a path, make sure they are level and securely fastened at equal intervals. If you want a gravel path, use a rake to evenly distribute the gravel over the prepared area, then tamp it down to make the surface smooth. In order to ensure that the bricks or pavers you’ve chosen sit evenly, place them closely together on the sand or stone base and lightly tap them with a rubber mallet. If you want to keep the path material contained and stop it from spreading, you can also place edging along the sides, like bricks or metal strips. Taking the time to carefully lay your chosen material will give your path a professional, polished look and ensure it remains functional for years to come.
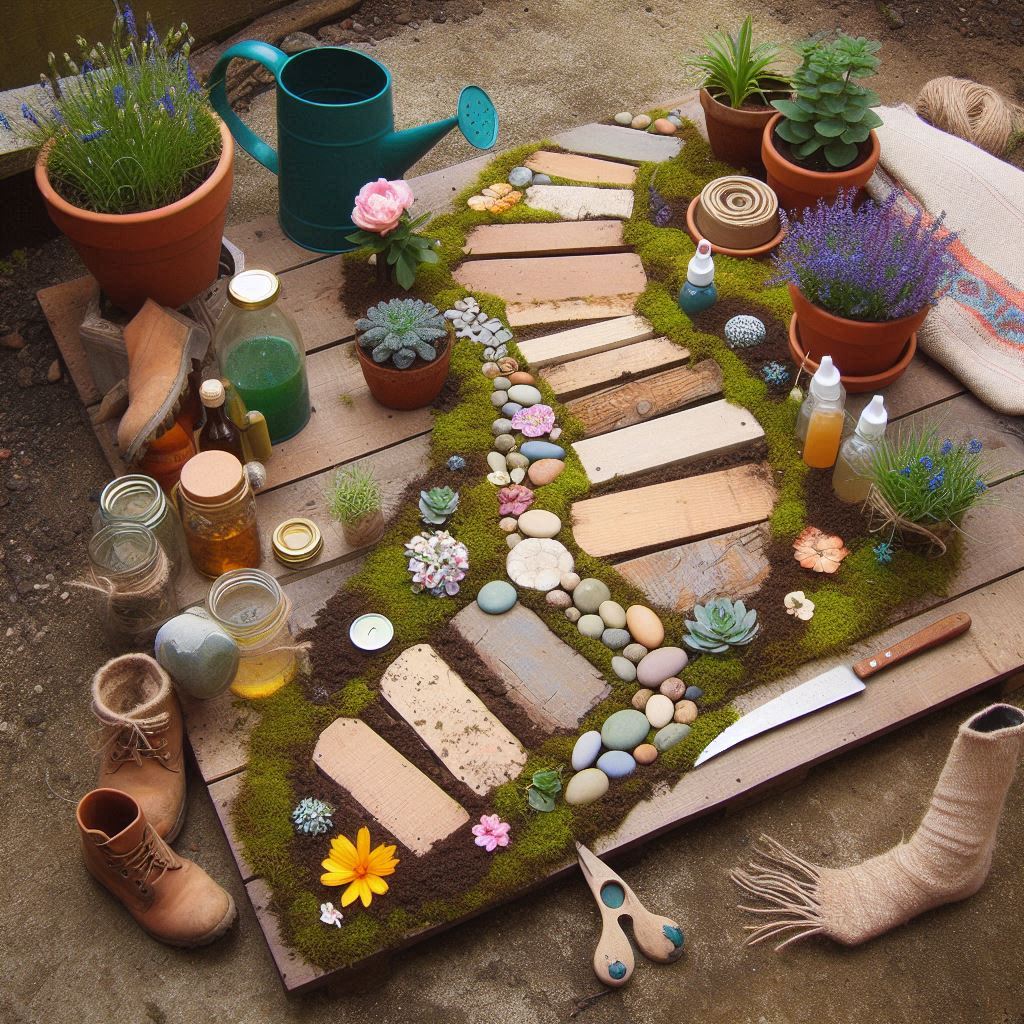
Adding Finishing Touches: Personalize Your Garden Path
Consider including ornamental elements that are a reflection of your style to give your garden path a unique touch. To create a warm and tranquil ambiance, you can place tiny potted plants, flowers, or solar-powered lights along the path’s edges. Adding natural stones or pebbles between stepping stones can give texture and character to a more rustic garden. Think about adding sleek metal or wooden edging for a contemporary look. Customizing your garden path lets you create a special area that feels like an extension of your house in addition to improving its aesthetic appeal. The beauty and usefulness of your DIY path will be enhanced by finishing touches like lighting or foliage, making it the focal point of your garden.